


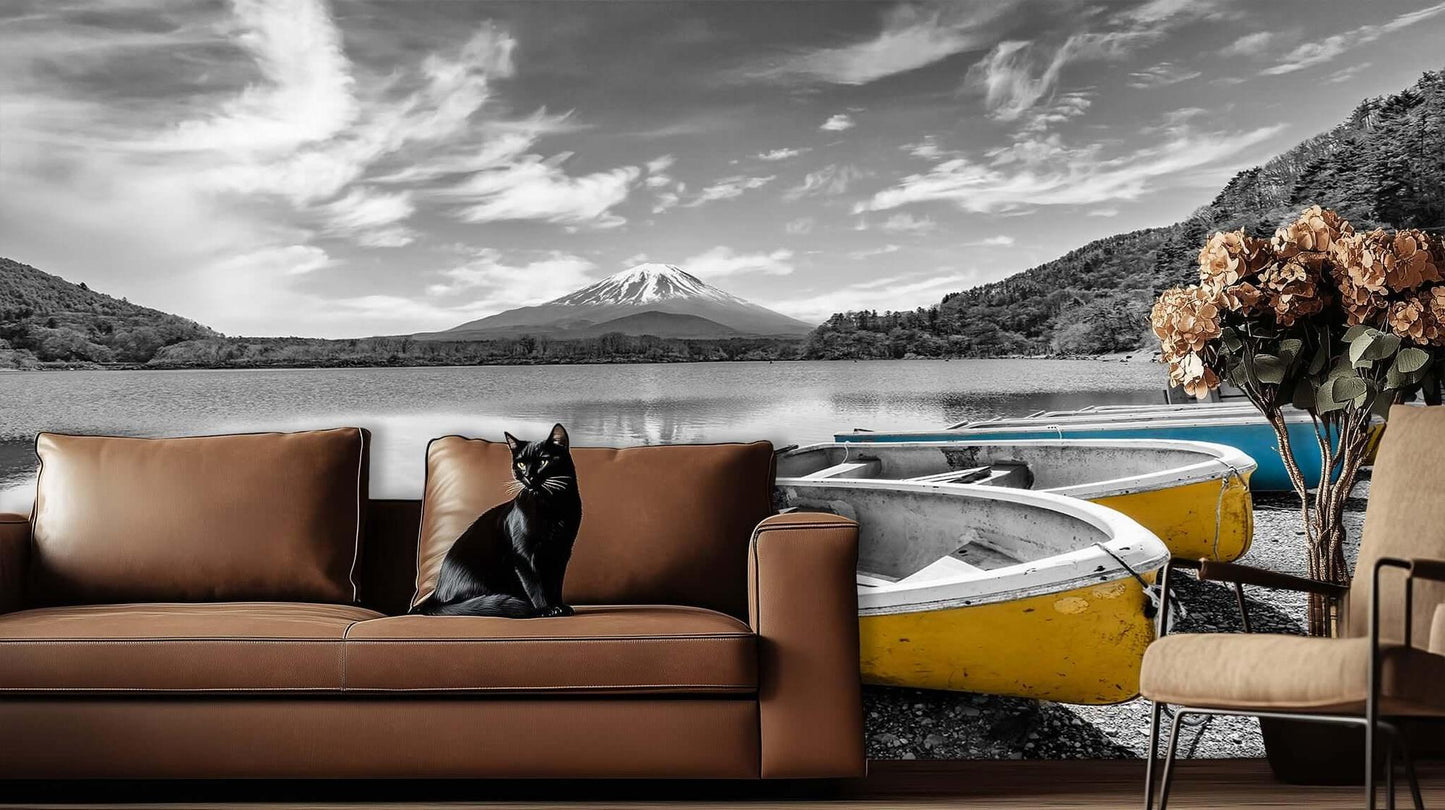
Tranquil Boats by the Lake Wall Mural
Enter your exact wall size. We add 2 in (approximately 5 cm) to the total width and total height for edge trimming. Panel seam margins are included separately.


3 POSITION YOUR DESIGN
Drag the design left, right, up or down. The shaded area will not be printed.
Want to preview the result first? Use our wallpaper mockup service to see how your chosen design will look on your wall before printing.

How to Measure
Measure the full wall at its widest and highest points, including doors, windows, sloped ceilings, stairs, cabinets, mirrors, electrical sockets, and other fixed features. Enter your exact wall width and height without adding extra allowance.
-
Standard Wall
Measure the widest width and tallest height.
-
Walls with Obstacles
Measure the full wall. Ignore doors, windows and other obstacles.
-
Sloped Walls
Measure as a complete rectangle. Excess wallpaper is trimmed after installation.
-
Stairs
Measure the highest and widest points. Trim diagonally along the stairs.


Choose the Right Wallpaper Material

Peel & Stick Wallpaper
- Easy to install & remove
- Self-adhesive backing
- Great for rentals
- Matte finish
- Pvc-free canvas

Non-Woven Wallpaper
- Breathable & durable
- Easy paste the wall
- Smooth matte finish
- Ideal for living spaces
- Pvc-free paper

Commercial Wallpaper
- Extra durable & washable
- Flame & scratch resistant
- Perfect for high-traffic areas
- Textured Type II Vinyl

Non-woven backed Vinyl
- Heavy-duty vinyl surface
- Stable non-woven backing
- Sand-textured matte
- Durable & washable
- Ideal for busy spaces
